How to Make Your Own Fully Functional Camera!
|
What Do You Need:
- Cardboard - Masking tape - Xacto knife - Scissors - Black paint |
- Cutting board
- Paint brushes - Pencil - Ruler - Foil - Pin |
- Any colour paint you want to decorate your pinhole camera with.
- Photographic paper |
Steps
|
1. Rule ten squares onto the cardboard using the pencil. Have five squares with sides of 12cm and the other five with sides of 15cm.
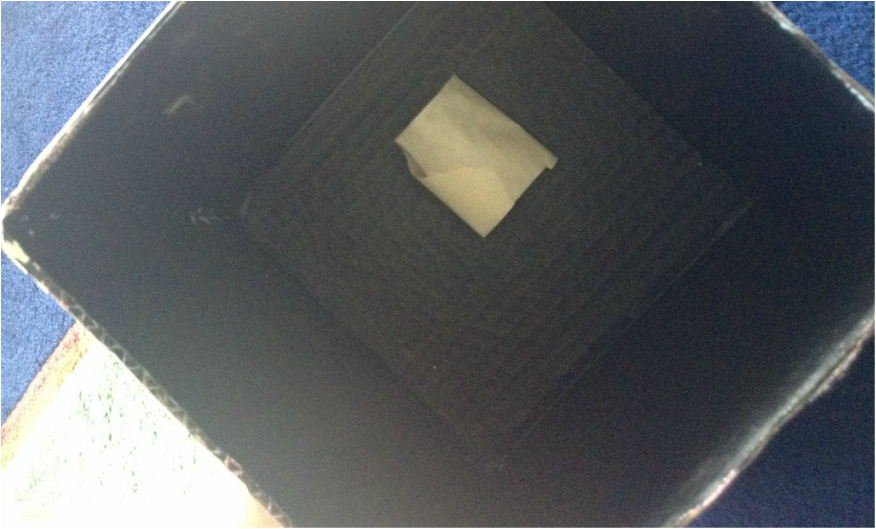
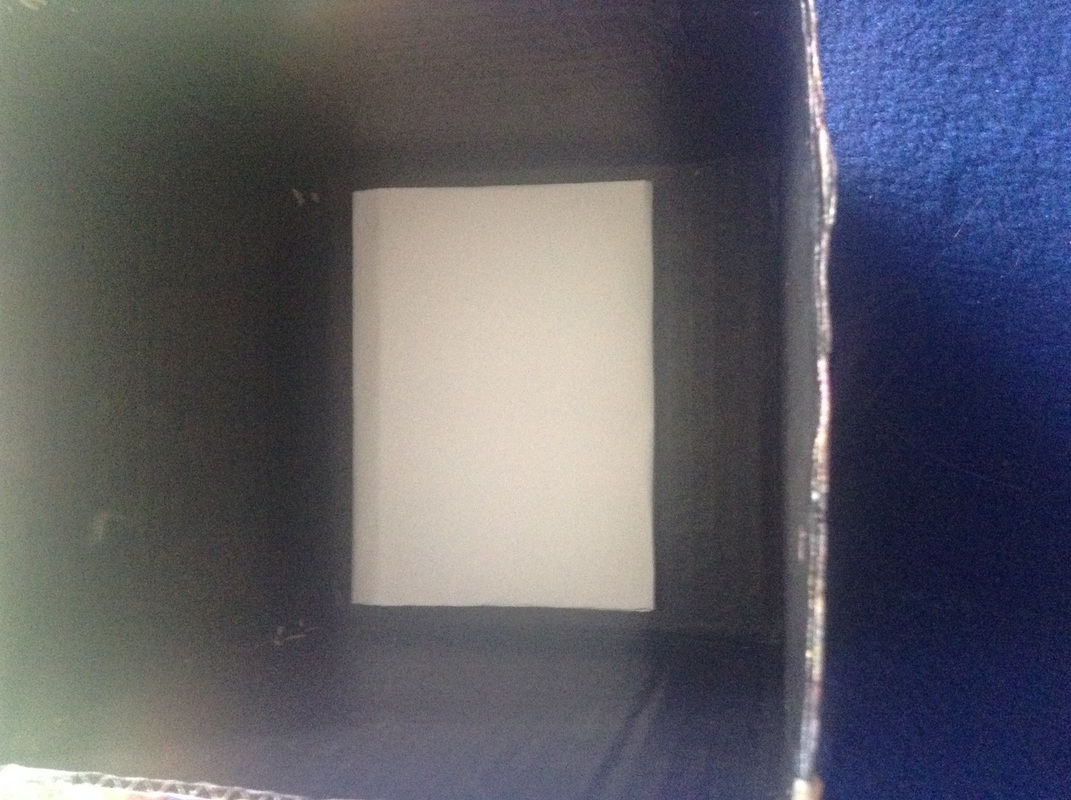
2. Cut out the squares using the xacto knife 3. Place the squares into a 'x' formation and tape the connected edges. (see figure 1.1) 4. Fold up two of the squares and tape them together. Repeat with the other sides. 5. Tape the outside edges so that they are secure (see figure 1.2.) 6. Paint the inside of the box in black paint and wait until it dries before painting the outside of the box. (See figure 1.3) 7. Draw a 3cm square in the middle of the 12cm square box's outside square. cut out three of the side and leave the fourth side, this will create a shutter for your pinhole camera. (see figure 1.4) 8. Cut out a piece of foil larger then the shutter. Using the masking tape stick the foil on the inside of the box where the shutter is. (see figure 1.5) 9. Poke a small hole into the foil using the pin. (see figure 1.6) 10. Roll masking tape into a circle and stick it on the opposite side to the shutter in the pinhole camera. (see figure 1.7) 11. Place the photographic paper on the masking tape when you are in the dark room to prevent it from being exposed to light. (see figure 1.8) |
|


Pinhole Designs
